
Garlicky Garlic Crust Pizza


When it comes to pizza toppings,  my family likes all the meat and cheesy goodness you can pile on. The more the better. I wanted to try something different and go with meat toppings made from turkey. It was a pleasant surprise for my little ones, they were too busy munching to notice. It came out better than I expected and of course I didn't document the process as it was an experiment. But we were happy with the results and even happier with a little less fat involved. :)

Ingredients
  • 13.8 oz. can Pillsbury pizza dough (Classic)
  • 3/4 cup chunky spaghetti or pizza sauce
  • 2 cups part skim milk mozzarella cheese
  • 1 package turkey pepperoni
  • 4 turkey Italian sweet sausage links
  • 1/2 tsp. minced garlic
  • 2 tbsp. butter
  • 1/2 teaspoon garlic powder
 
I decided to cook my sausage before putting them on the pizza to reduce the oil from the cheese and the pepperoni. Even though turkey is less fat, I didn't want the toppings to be juicy.  I couldn't find the ground turkey sausage so I had to use the sausage links. Cut the ends of the sausage links and squeeze them out into a skillet with 1 tbsp. cooking oil. Use a fork to break up the sausage while cooking. Cook until lightly brown, turning frequently. Set aside.
 
 
*Preheat oven to 425 degrees.
Grease a round pizza pan. I used Pam cooking spray.             


Start with a can of Pillsbury classic pizza dough. If you can get past the popping from opening the can you can do this. :)
Place dough on sheet and unroll it best you can without overworking it and tearing it. I tried my best to get it into a round shape but it started tearing so I left it in a roundish/ square shape.
Don't overthink it. It happens.


Spoon sauce over dough evenly. This sauce was good as is. I didn't add anything to it.


Spread Mozzarella cheese over dough.


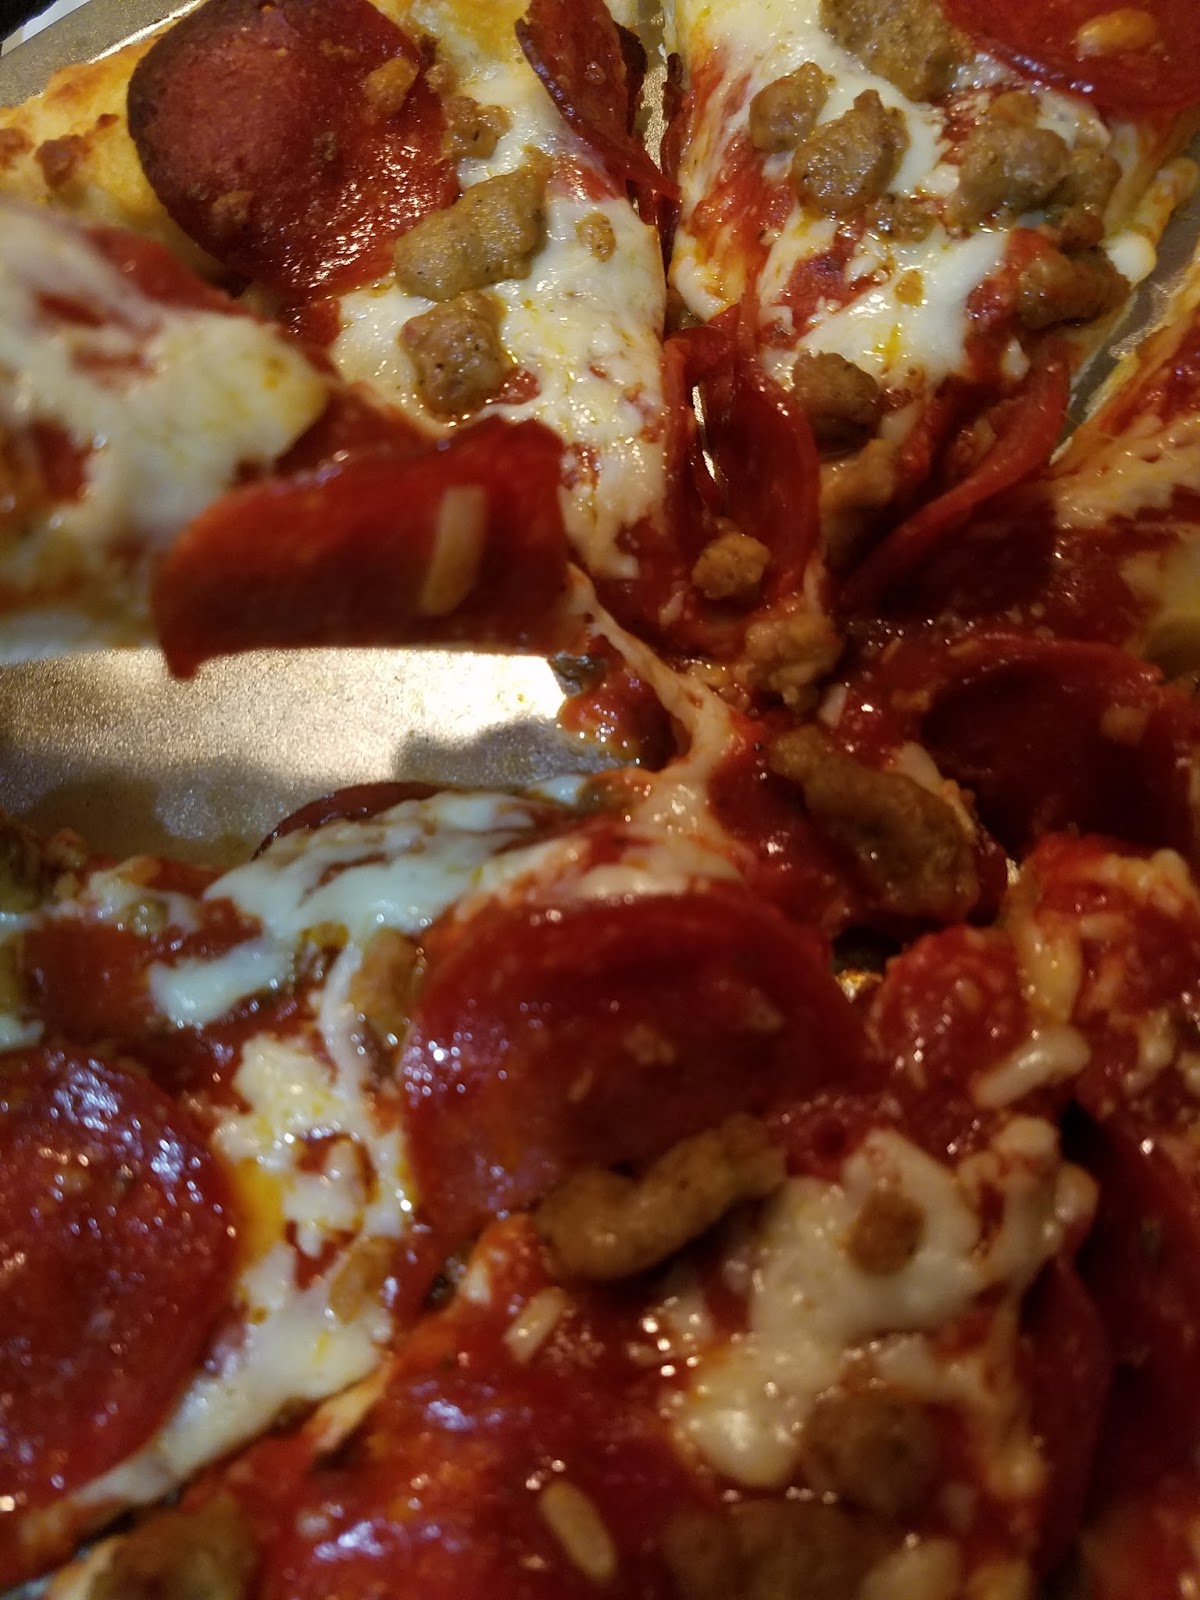
 Alternate adding the cooked turkey sausage, and pepperoni slices over entire pizza. You're almost there :)
 
 
Garlicky-garlic butter for pizza crust.
Hey, add as much flavor as you want. Who cares? It's turkey :)
2 tbsp. butter
1/2 tsp. minced garlic
1/2 tsp. garlic powder
Add butter to a small saucepan, as it starts to melt add minced garlic. Once fully melted add garlic powder, stir and turn off heat.
Immediately brush garlic butter onto pizza crust edges.
Put pizza in the preheated oven for 12-18 minutes. (ovens vary)
Halfway through cooking time, rotate pizza pan, then proceed to the finish. Enjoy!


Popular posts from this blog

Pancakes With Crunchy Edges are Life...

Who doesn't enjoy a pancake with a crisp edge?  You know... the crispiness that only  your mom or grandma could achieve. When I saw this meme on the internet, I laughed out loud because it's something my sister Stacey and I talk about all the time. We would go to diners and restaurants and request pancakes with crunchy edges. The waitress would say okay...but return with regular ol' pancakes with soft edges.  I gave up.  I decided if I wanted pancakes like this,  I would just make them at home.  When looking at the meme's comments, I noticed that most people stated that only their parents or grandparents  could achieve this crunchy goodness.  Quite a few of the comments in the meme questioned  how to achieve pancakes with crunchy edges?  I chime in with  "It's really not hard to achieve." All you have to do is add a few drops of cooking oil around the sides of your pancakes while cooking them.  It can be vegetable oil, butter, or bacon

Shaken Baken Stuffed Peppers

So the recipe for my version of Stuffed Red Peppers comes from at least a dozen versions found on the internet. My whole approach was to get as much flavor out of these babies as possible. Most recipes called for rice, meat usually beef or turkey, and cheese for those who like it. I like all of these things so I incorporated them into my recipe. I also have family members that either don’t eat beef or don’t eat turkey (oy!) so I did both. I do have a lot of ingredients but the flavors came out really good! This recipe makes about 10 bell peppers. I wanted to try the peppers first in case it tasted funky...  I can assure you it didn’t.  There was a lot of meat leftover so I used it for 5 prepared meal packages for the week. My only issue was timing. As you can see they are a little well done so I will make sure to adjust my cooking time next time. Every recipe I found had a different temperature and cooking time so I was winging it for real….So without further adieu here is my

My Love For The Cosi Signature Salad

If you’ve ever had the pleasure of having a Cosi Signature salad, then I'm sure you will agree with me, as it is my favorite salad with a dressing you can drink. (kidding) I miss living in the big city so I have to improvise. And with a huge thanks to  The Brown Eyed Baker  ,  I was able to recreate it down to that awesome drinkable dressing.  This is the first salad I’ve eaten with fruit in it. It has pistachios, red grapes, gorgonzola cheese, pears, and dried cranberries. I added leftover cooked chicken because I was starving and I didn’t want to be hungry later. My hubby sliced up a boiled egg in his. No egg for me. I had one already this afternoon. The chicken was a great companion to the fresh fruit.                                         *Note: The Original Cosi salad does not have chicken or eggs.                             e is the official recipe courtesy of The Bro Eyed Baker. She did a great job replicating that dressing. Oh that dressing….ENJOY!!